Wednesday, August 27, 2014

The Mango Bravo Challenge: Part 2 (of 3) - the Chocolate Mousse

There are different types of chocolate mousse.  Some have eggs.  Some have gelatin.  Some use a combination of both. When I make chocolate mousse, I prefer the easiest option, that is, one with just chocolate and cream.

The chocolate mousse filling sits at the bottom of the Mango Bravo cake, between the middle and bottom meringue layers.  I used an adjustable cake ring to help set my mousse properly on top of the bottom meringue.  You will see how I used this later, towards the end of this post.


If you don't own a cake ring, don't worry.  You can also use an 8" springform pan.  If you don't have that either, you can simply use the 8" cake tin you baked the meringue in (provided it is deep enough) by lining the inside with clingfilm, making sure that the film hangs over the edges of the tin so you can lift the cake out once the mousse has set. 

If you have your own tried and tested recipe for chocolate mousse, then by all means, use that for the Mango Bravo cake filling.  But if you want, you can try this simple version too.  This is very light but firm enough (even without the addition of gelatin) to able to withstand the weight of the other cake layers.

CHOCOLATE MOUSSE (enough filling for one Mango Bravo cake)

Ingredients:

4 teaspoons unsweetened cocoa powder (I used Dutch-processed but natural is fine too.)
3 tablespoons hot water
132 grams dark chocolate (melts or chips or whatever you want!)
1 cup cold thickened (heavy, whipping) cream
2 teaspoons white granulated sugar
pinch of salt

Procedure:

In a small bowl, combine the cocoa powder and the hot water. Whisk until cocoa powder is dissolved.


Place the dark chocolate pieces in a large heatproof bowl,  Set the bowl over a saucepan of simmering water.  (Do not let the bowl touch the water.) Stir occasionally until chocolate is completely melted. Remove from heat and set aside to cool for a few minutes.


Whisk cocoa mixture into the melted chocolate until smooth.


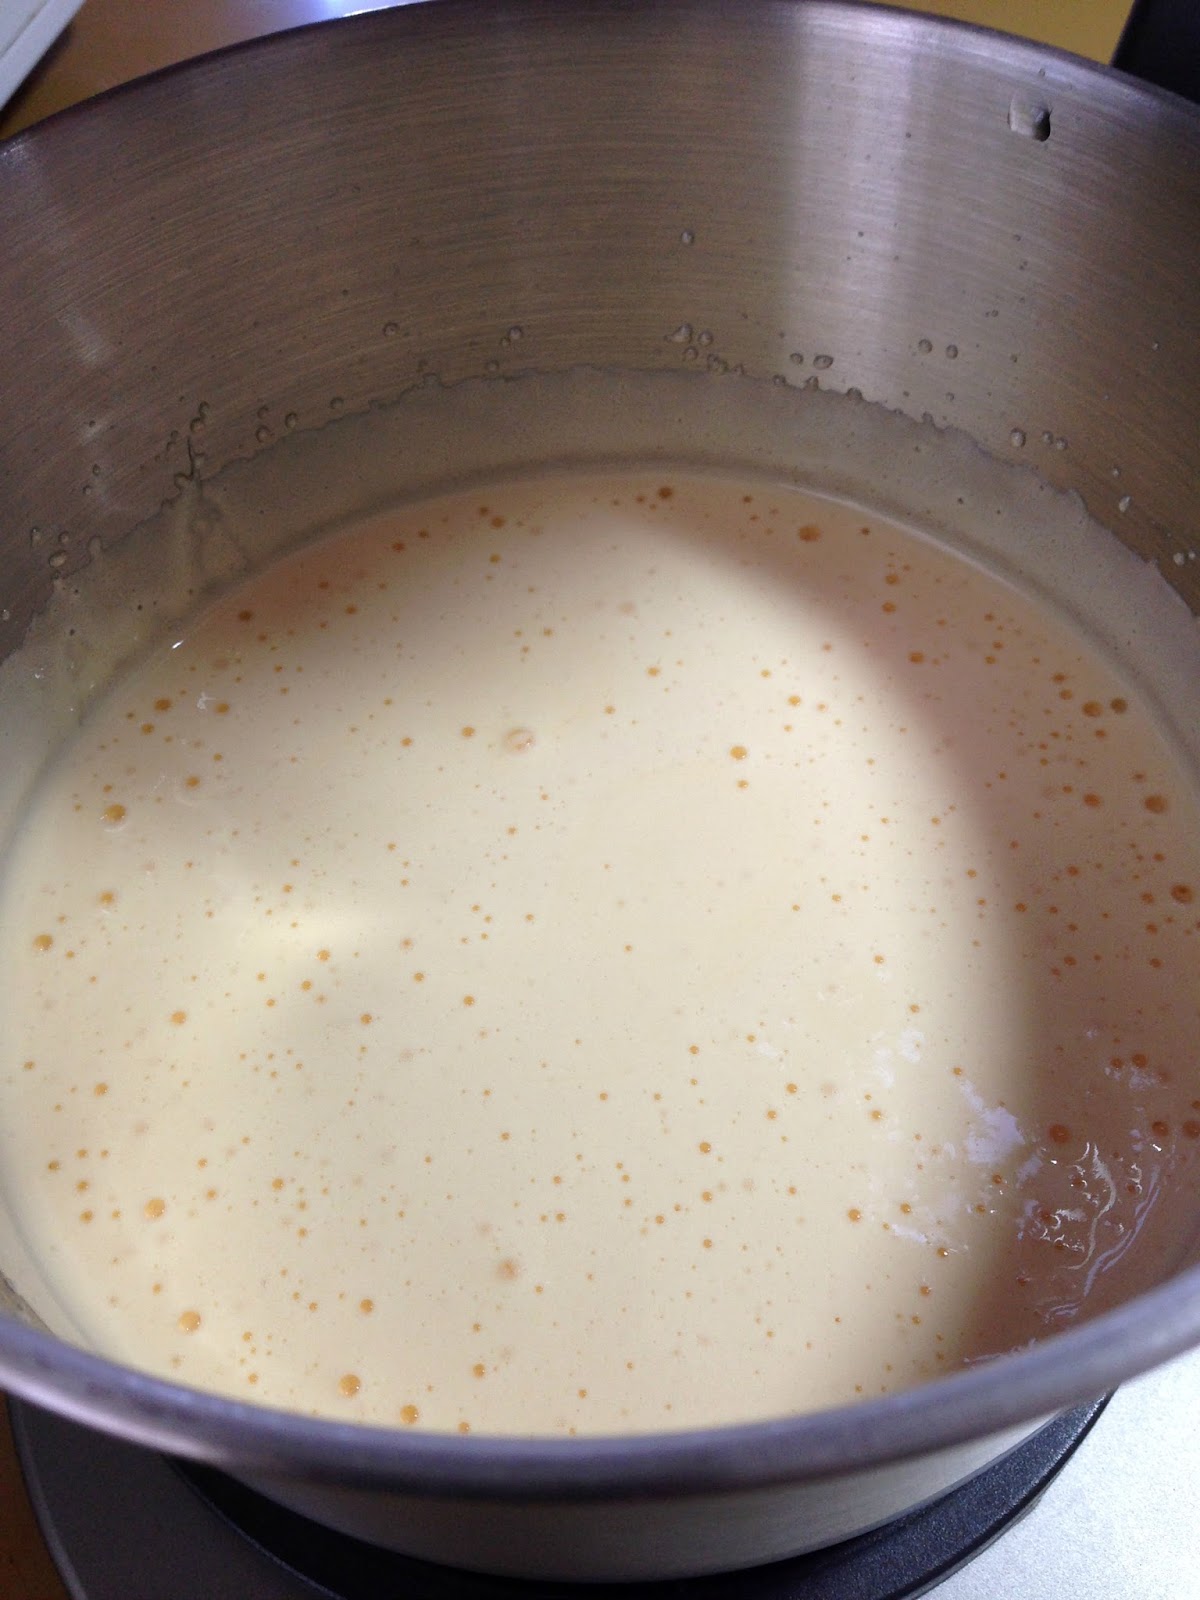
Using chilled bowl and beaters, whip the cream, sugar and salt, starting from a low speed gradually increasing to high.  Beat until the cream forms soft peaks.


Whisk one-third of the cream into the chocolate mixture to lighten.  Then using a spatula, fold in the rest of the whipped cream until no streaks remain.


To set your chocolate mousse over the meringue:

Place a meringue wafer** on top of a cake board (or if you are using a tin, position it inside).

**Note: If your meringue wafer is not level, you might want to trim it a little with a serrated knife until the surface and also the sides become straight.

Secure the cake ring tightly, pour mousse in, then level off.


Cover top with foil or clingfilm then chill in the fridge for a few hours or overnight until chocolate mousse is firm.

Remove cake ring (or lift cake out from tin) before proceeding with the rest of the Mango Bravo assembly.

I've taken the cake ring out just to show you what it looks like but you must keep it chilled until you have made your whipped cream frosting.

Next post: The Mango Bravo Challenge: Part 3 (of 3) - Whipped Cream frosting and Final Assembly

Tuesday, August 26, 2014

The Mango Bravo Challenge: Part 1 (of 3) - the Meringue Wafers

I know a lot of you have been waiting for this.

I finally challenged myself into creating a copycat of the Mango Bravo cake of Conti's Bakeshop and Restaurant.

I am not going to show a photo of my cake just yet.  I've decided to divide this post into three parts so I will reveal that when we reach Part 3. My cake is definitely not an exact copy. It is imperfect in many ways.  There are a lot of things that can be improved or changed. However, just the same, I am happy to share what I did to anyone who would care to know!  In all three parts, I will be detailing everything I did.  Please read them all thoroughly before attempting to bake your own cake as I will also be mentioning in the end the things I would want to do to get even better results.

What is this cake exactly? The Mango Bravo is a frozen cake described to be layers of cashew meringue wafers, chocolate mousse, cream and mango cubes, drizzled with chocolate syrup.  It is distinctively a very tall cake, the regular 8" size being about 7" high (or perhaps, even more!).

Image credit: Food Spotting
I have had the chance to taste this cake twice, on two separate visits (3 years apart) to the Philippines. Well, to be honest, I can hardly remember what the cake was really like because I got to eat just bits and pieces, not whole slices. It is supposed to be served frozen and when it sits at room temperature for a while, it becomes all soggy and melted and you cannot possibly get a decent slice. I can imagine, though, why people like this cake so much - it's crunchy and nutty, it's fruity, it's chocolatey, it's creamy. 

Just by looking at photos of this cake, I already knew that the hardest element to recreate was the meringue wafer.  Meringue, in general, isn't difficult to make.  However, the ones on this cake were ridiculously thick. They looked rather different too, like toasted cake or huge lady finger biscuits.

Recently, I posted here a recipe of sans rival. Although similar to the cashew meringue wafers of sans rival, the Mango Bravo wafers do not appear to be loaded with cashews.  I could be wrong but purely based on the many photos that I've seen, I could only spot few chopped cashew pieces popping out here and there. The sans rival wafers are also way thinner. Those wafers I made took me two hours to bake. So how long would these thicker ones take to dry out and brown? Three, four, five, six hours in the oven???

This try was a shot in the dark.  Didn't really know what I was doing, no kidding.  However, I think in the end, it all worked out just fine.

MERINGUE WAFERS (makes three 8" round, 1" - 1 1/4" thick pieces)

Ingredients:

1 1/2 cups eggwhites (from 9-10 large eggs), room temperature
1 teaspoon cream of tartar
3/4 cup granulated white sugar **
1 cup sifted icing (powdered, confectioner's) sugar
1 cup coarsely chopped unsalted roasted cashews
3 tablespoons cornstarch

**I actually used 1 cup of sugar but found the meringue just a tiny bit sweet for me so I am lessening it to 3/4 cup.

Procedure:

Preheat oven to 150 deg C.  Grease three 8" round pans and line the bottoms with baking paper.

In a bowl, combine icing sugar, cashews, and cornstarch thoroughly.


In a mixing bowl, starting from a low speed gradually increasing to medium, beat eggwhites and cream of tartar until frothy.  Gradually add in granulated sugar then increase speed to high and beat until eggwhites reach stiff peaks.


Gently fold in cashew mixture into the eggwhites.


Fold just until no specks of icing sugar/cornstarch can be visibly seen.


Divide meringue evenly into the three prepared pans.  Level off with an angled spatula.


Bake in the oven until meringue is golden brown inside and out (but not burned!), crispy and dry.  How long you say?

I really didn't have a clue on how long to bake these for! I first checked 2 hours in.


I poked a hole on one of the meringues and saw that the inside was still wet and very white.  I put it back in the oven and waited for another hour.


After 3 hours, the top seemed ready but when I turned it over, the bottom was still soft to the touch and as you can see, the inside was still white.


I wanted to give up at this point because I was concerned about how much gas I was consuming from having the oven on for that long! After thinking about it, I didn't want everything to go to waste, so I put the wafers back into the oven and left them there till I was sure that they were all dry and brown inside and out.

It took nearly 6 hours.


So there they are, my three thick wafers, finally all dry and brown and hopefully, crispy.  I let them cool completely, wrapped two of them in cling film and kept them in freezer bags.  I left one out so I could top it with chocolate mousse.  I planned to let the mousse set overnight.


Wednesday, August 13, 2014

Chocolate crinkles

The other day, I received a request to "imitate" what is touted to be the best chocolate crinkles in Metro Manila.  Oddly enough, this crinkle can be found, not in a bakeshop, but in a bank cafeteria! It apparently has received a cult following but the only way to get them is through someone who actually works in the bank.  Not knowing what made this particular cookie extra special, I did a google search.

Image credit: from top left going clockwise - My Dessert Diet, Desperate Measures,
Lakas ng Trip Travel Blog via FlickrInteraksyon

Funny isn't it, how somehow there is a perception that I can make up something by just looking at photos over the internet? :) I am flattered that people see me as that, but unfortunately, things do not happen magically like that for me. I had no hesitation, however, about experimenting because my family loves chocolate crinkles and would welcome them anytime, anyday.

What do I consider the perfect chocolate crinkle?  In terms of appearance, a perfect chocolate crinkle should have the cracked top.  Some crinkles look as if they have just been coated in powdered sugar, with little or no cracks at all.  Another thing is that it should not be flat like a normal cookie but should have a slight rounded top.  Lastly, it should be a deep, dark brown colour.  The colour does give one a sense of how chocolately something is.  A light brown crinkle, to me, isn't as enticing to eat.

In terms of taste and texture, on the other hand, a perfect chocolate crinkle should have a slight crunch on the outside but have a soft, moist, fudgy texture on the inside.  And of course, it should be as chocolatey as it looks!

Having said all of the above, I set my sights on making the perfect chocolate crinkle. As always, I didn't just want to find a recipe on the internet then copy it onto here.  I looked at several recipes, took different elements from them, combined what I thought would work and experimented.  Bingo!  I seriously believe I hit the jackpot on the first try...It must be magic after all!


I was so happy with my success, I wanted to share the recipe with all of you right away. But before I move on to that, here are just a few tips to ensure your success as well:

1.  Use a good-quality Dutch-processed cocoa powder.  Natural cocoa such as the popular Hershey's brand (although having a deeper chocolate flavour) is lighter in colour.  Just for comparison, have a look at the photo below.


I have two kinds of Dutch-processed cocoa powder on hand - Van Houten (made in Belgium) and Droste (made in the Netherlands).  Notice the different shades.  I used the darkest one (Droste) for my crinkles.

2.  The size of eggs you use will have an effect on how firm or how soft your cookie dough will be.  Use eggs that weigh around 60g (in the shell), give or take 2-3 grams.  Normally, eggs of this size would be labelled as LARGE but that varies from country to country.

3.  If you absolutely cannot find chocolate extract, just omit it and use 2 teaspoons vanilla extract in total instead.  But if you know where to buy it, I suggest you get one!  It will make a difference.

4.  As soon as you have rolled the dough and coated them in icing sugar, bake them immediately.  The colder and firmer the dough is as it goes into the oven, the less it will spread and the more defined the cracks will be.  Also, if you let the dough sit out for long, the icing sugar will begin to absorb into it and you don't really want that.

Are you excited now?  Let's bake the perfect chocolate crinkles, shall we?

CHOCOLATE CRINKLES (makes about 36 cookies)

Ingredients:

2 cups sifted all-purpose flour
2 teaspoons baking powder
1/4 teaspoon salt
1 cup sifted unsweetened Dutch-processed cocoa powder
1 tsp instant coffee powder
1 cup white sugar
2/3 cup brown sugar, packed
1/2 cup vegetable/canola oil
4 large eggs (~60g @)
1 tsp vanilla extract
1 tsp chocolate extract
Around 1 cup sifted icing sugar (confectioner's/powdered sugar)

Procedure:

In a bowl, sift together the flour, baking powder, and salt.  Whisk to combine thoroughly.

In another bowl, mix together the cocoa powder, coffee, sugars, and vegetable oil.

Beat in the eggs one at a time. (I just used a wooden spoon for this.  No need for a mixer.)


Stir in the extracts.

Mix in the flour mixture just until well incorporated.

Cover the bowl, and chill for 30-45 minutes in the freezer or until firm enough to handle easily.


Preheat oven to 350 degrees F (180 degrees C). Line a baking tray with baking paper or a silicone mat.

Roll dough into 1 1/2" balls. (I used my cookie dough scoop to measure out my dough but you can just use a spoon and you can also form smaller or bigger balls, it's up to you.)

Coat each ball in icing sugar then place onto prepared baking tray.

Return covered bowl of dough to the freezer.


Bake IMMEDIATELY in preheated oven for about 12-13 minutes. (For 1" balls, bake for about 10-12 minutes.  For a 2" ball, bake for about 14-15 minutes.)  Do not overbake the cookies.  Once the bottom edges start to firm up even if the tops still look underdone, take them out of the oven.  If you overbake them, they will become crunchy and dry instead of chewy and moist.

Let stand on the baking tray for a minute before transferring to a wire rack to cool.

Repeat process of rolling dough for the next batch only when the first batch is done baking.  This is important as I have already explained earlier why it is better to bake the cookies while the dough is cold and firm.

Keep cooled cookies in an airtight container or better yet, pack them in individual cello bags so you can control yourself from eating too much!


As always, your feedback is very valuable to me.  Please try the recipe then let me know if you agree with me (or don't) that these are the best chocolate crinkles ever!


PS. I read that the bank crinkle was bigger than usual (like palm size) so I also tried making one large cookie.


Yum, yum, yum! One piece is definitely enough for this big size.


Tuesday, August 5, 2014

Sans rival

Uninspired. 

That probably sums up how I've been feeling in the last month or so.  I believe the cause is a combination of plain burnout as well as emotional stress from having to deal with some personal issues lately.  Or maybe, just maybe, I am just nursing a hole in my heart after having watched 9 seasons of "The Office" straight and seeing it end :(.

For quite a while now, I have been thinking of making a sequel to my Frosted Heaven book.  I have actually already listed the chiffon cake varieties that I wanted to include in it but just the thought of having to make the cakes one by one so I can test them and take photos as well is making me feel sick already.  Can you believe that? Me, getting sick of chiffon?  For the time being, I'm afraid it's true so I have put this project on hold for now.

Last month, two of my kids had their birthdays.  No chiffon cake for us!  For my daughter's birthday on the 28th, I made a cookies and cream cheesecake.  She prefers cheesecake over cake anyway so, more than anything, this was a welcome change.  For my son's birthday a few days later (on the 31st), I made sans rival.  Believe it or not, although this is a Filipino favourite, it was my first time ever to make this dessert.


Since our oven is small and can only accommodate 2 baking trays at a time, I only made two meringue wafers which I each cut in half to make four layers.  The finished cake was only about 8"x6" but it was more than enough for the six of us.  As a matter of fact, it lasted for three days.  Not that it was not delicious.  It definitely was. However, being a really rich type of dessert, you can only eat it in little portions at a time.

Next time you feel like having something different (other than chiffon cake!), hope you can give this a try. Enjoy!

SANS RIVAL (makes a four-layered 8"x6" cake)

For the meringue wafers:

Ingredients:
1 cup eggwhites, room temperature
1/2 teaspoon cream of tartar
1 cup granulated white sugar
1 cup coarsely chopped unsalted roasted cashews **

**Although cashews are traditionally used, you can substitute this with other nuts such as almonds, pistachios, macadamias or whatever nut you prefer.

Preheat oven to 150C (300F).

Cut two pieces of baking paper about the same size as the underside of a large baking tray.  In the center of each, draw an 8"x12" rectangle.

Lightly grease the underside of two baking trays.  Stick each baking paper to a greased tray, drawn side down.  Just to make sure it would be easier to take off the baking paper later on, you can also grease the tops.


In a mixing bowl, combine eggwhites and cream of tartar.  Starting from a low speed gradually increasing to medium, beat until frothy.  Slowly add in sugar, then increase mixer speed to high and beat until eggwhites are stiff but not dry.

Gently fold in the chopped cashew nuts.


Divide the meringue equally between the two lined trays.  With an offset spatula, spread the meringue out using the drawn rectangle as a guide but go slightly past the lines.  Make it as level as you possibly can.


Bake meringue in preheated oven for about 1 1/2 to 2 hours, or until the meringue is dry, crisp and a light brown colour. (As I always say, since different ovens behave differently, baking time may vary.)  The important thing is that the wafers are crunchy - soft and soggy wafers are no good!


While still hot, use a long, sharp knife to carefully trim the sides of the meringue to make the edges straight (and aligned with the drawn rectangle on the baking paper). Cut each meringue in the center to make four 8"x6" pieces. Now that the pieces are smaller, they are easier to take off from the baking paper. Do this slowly. If you accidentally crack the meringue (like the lower right side of the meringue below), don't worry about it as you will be able to "repair" this with buttercream later.


For the French buttercream:

Ingredients:
1/2 cup granulated white sugar
1/4 cup water
2 eggyolks
1 whole egg **
1 cup butter, softened

**Typically, other recipes use all eggyolks.  This is just how my aunties made their version.  The whole egg makes the buttercream a tad lighter, I suppose. If you want all eggyolks, you can use a total of 5-6 instead.

In a small saucepan, mix together the sugar and water.  Bring to a boil over medium heat.  Clip a candy thermometer onto the side of the saucepan.  Once the temperature reaches about 90C (200F), start beating your eggs.


When syrup reaches 115C (240F), take it off the heat.  With mixer at low speed, slowly pour the hot syrup into the eggs. Aim for the area in between the mixer and the beaters.  If your syrup hits your beaters, it will splatter to the sides of the mixing bowl instead of combining with the eggs.


Beat the egg/syrup mixture until thick and light in colour. Set this aside in the fridge to cool.


When cool, return bowl to the mixer, beat at medium speed while gradually adding in the soft butter.  Scrape down the sides to make sure all the butter is incorporated.


Once all the butter is in, increase mixer speed to high and beat until buttercream is light and fluffy.


To assemble Sans rival:

You will also need: 1 cup or more of coarsely chopped unsalted roasted cashew nuts (or whatever nut you used in the meringue).

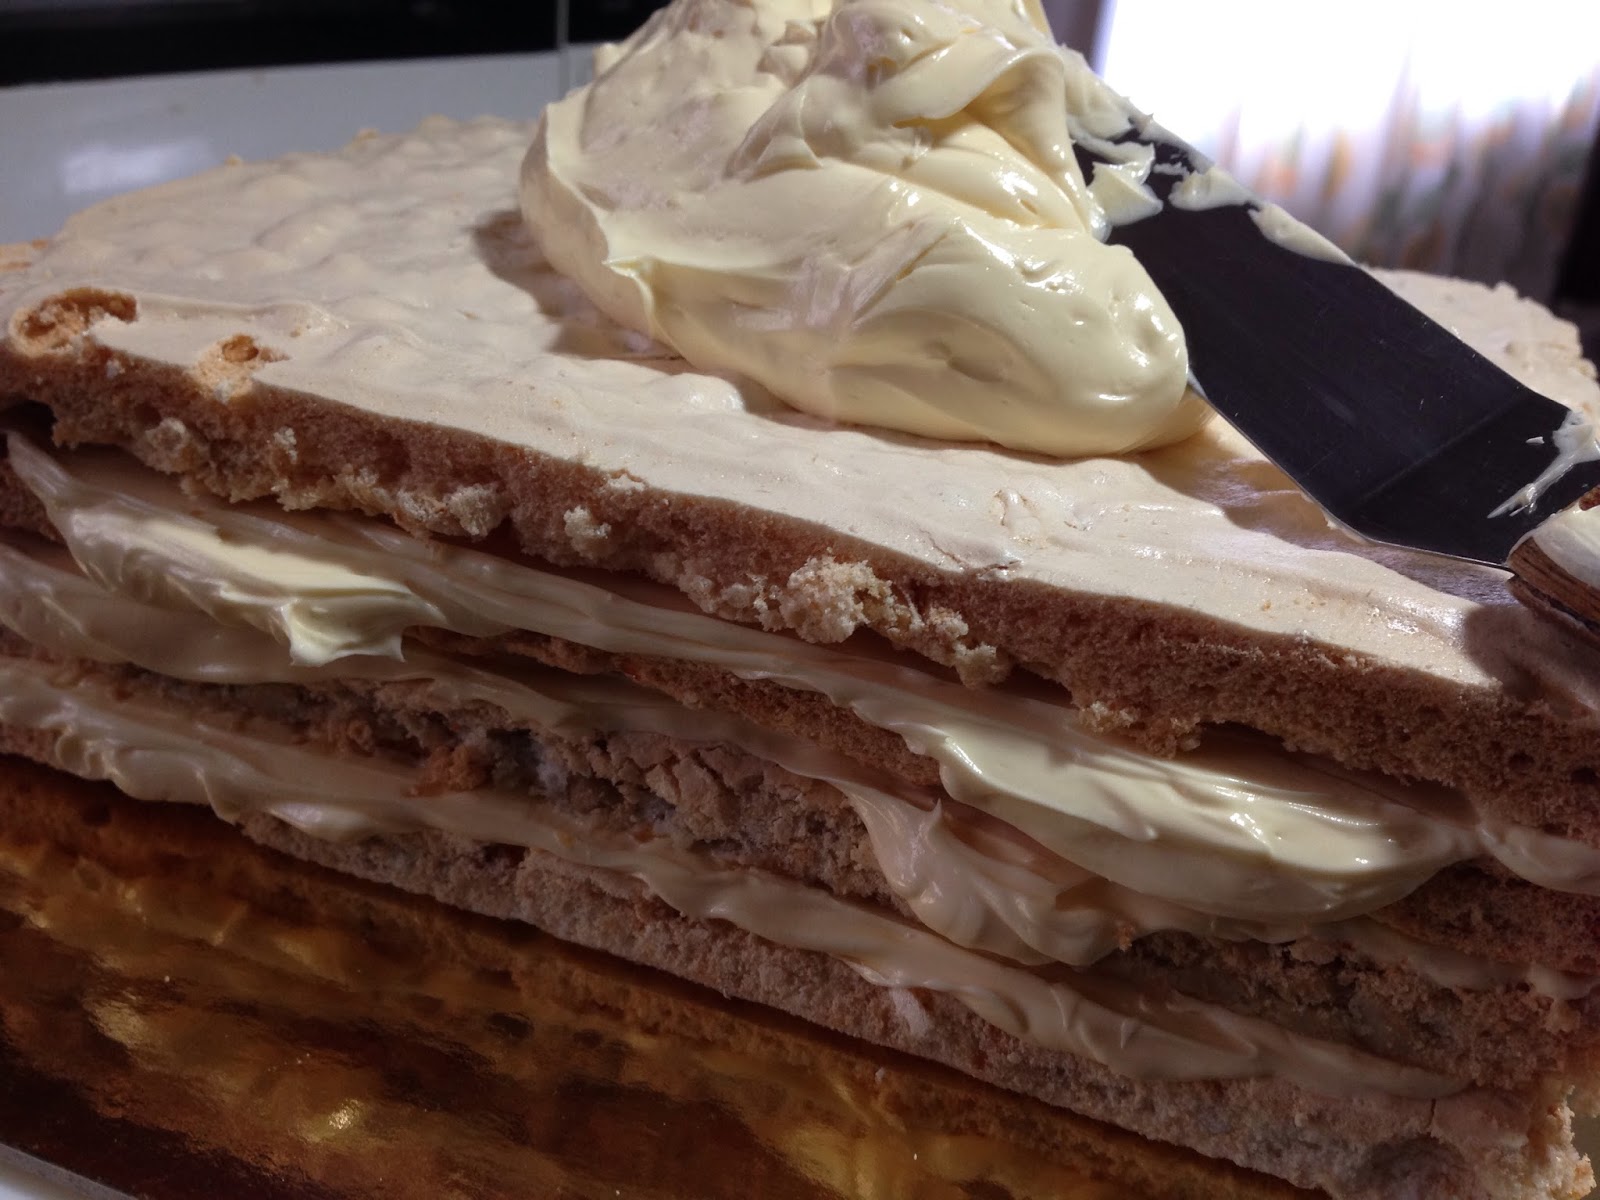
On a cake board, alternate layers of meringue wafer and buttercream.  As the buttercream is very rich (and can become cloying if taken in large amounts), spread thinly only. If you have any cracked wafers, use a little buttercream to "glue" them together.  Cover the entire cake with the rest of the buttercream. 


As with the cake pictured at the very top of this page, you can finish your sans rival off by piping borders (if you still have leftover buttercream) and by covering the top generously with chopped cashew nuts.  

Or if you absolutely love nuts, you can cover even the sides with more cashews!


Keep the sans rival in the freezer in a box or in an airtight container until time to serve to keep the meringue crunchy.  Use a very sharp knife to slice.


Remember to cut into small pieces only!